


Getting started with IGEP PARIS
From IGEP - ISEE Wiki
| |
| |||||||||
Overview
This is the 1/3 chapter of IGEP PARIS Expansion Tutorial Guide.
In this first chapter, we will learn how to connect some expansion peripherals.
Contents
[hide]
Requirements
In this tutorial we are going to use the following peripherals:
- IGEP COM MODULE
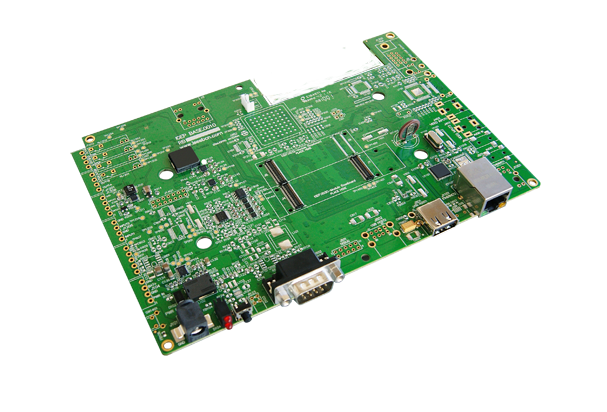
- IGEP PARIS Expansion
- 5V DC power supply with a minimum of 3A current capacity
- TFT touch screen Seiko 7"
- Network cable
- USB keyboard and a mouse (optional)
- Li-on battery with 3V3 (optional)
- DB9 connector
- PC
Getting started
Connect IGEP PARIS Expansion with IGEP COM MODULE/NEUTRON Board

Enable IGEP PARIS Expansion support
IGEP Yocto Firmware comes with IGEP PARIS Expansion support. However open igep.ini, you can do this checking following kernel cmdline parameter:
buddy=base0010 buddy.revision=B
;buddy=ilms0015
Remote connection via Ethernet

|
If you aren't using a Linux operating system, use IGEP SDK Virtual Machine to connect to the board |
In your Host Machine, open a terminal sessions set up an Ethernet alias for your network interface,
$ sudo ifconfig eth0:0 192.168.5.10
Connect to the board using the SSH protocol
$ ssh root@192.168.5.1
An empty password for root user should work to access to the shell prompt.
You have successfully completed this chapter of the guide.
| |

|
If you have any question, don't ask to ask at the IGEP Community Forum or the IGEP Community Chat | 
|