


Difference between revisions of "What can I do with IGEP PARIS"
From IGEP - ISEE Wiki
m |
|||
| Line 1: | Line 1: | ||
| − | + | {{Table/IGEP Technology Devices | |
| − | + | |Tech_Family={{#lst:Template:Links|IGEP_PARIS_Tech_Family}} | |
| − | + | |Tech_ID={{#lst:Template:Links|IGEP_PARIS_Tech_ID}} | |
| − | | | ||
| − | | | ||
| − | |||
| − | |||
| − | |||
| − | |||
| − | |||
| − | |||
|Name={{#lst:Template:Links|IGEP_PARIS_Name}} | |Name={{#lst:Template:Links|IGEP_PARIS_Name}} | ||
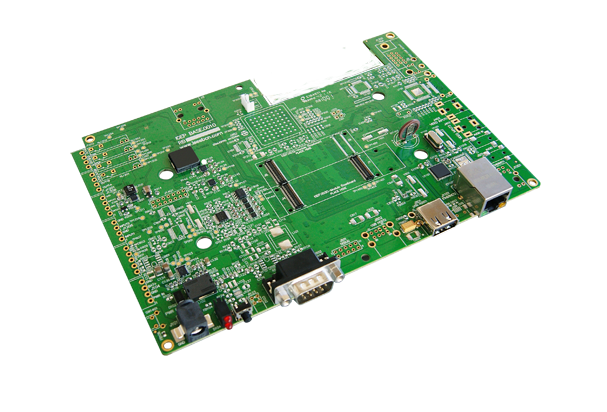
|Image={{#lst:Template:Links|IGEP_PARIS_Image}} | |Image={{#lst:Template:Links|IGEP_PARIS_Image}} | ||
|ISEE_MainPage={{#lst:Template:Links|IGEP_PARIS_ISEE_MainPage}} | |ISEE_MainPage={{#lst:Template:Links|IGEP_PARIS_ISEE_MainPage}} | ||
|ISEE_Hardware={{#lst:Template:Links|IGEP_PARIS_ISEE_Hardware}} | |ISEE_Hardware={{#lst:Template:Links|IGEP_PARIS_ISEE_Hardware}} | ||
| − | + | }} | |
| − | + | ||
| − | + | __TOC__ | |
| − | + | = Overview = | |
| + | |||
| + | This is the 2/3 chapter of IGEP PARIS Expansion Tutorial Guide. | ||
| + | |||
| + | We will learn some basic tasks. | ||
| + | = What can I do = | ||
| + | == How to use EEPROM == | ||
| + | ''(from [[How to use EEPROM]])'' | ||
| − | + | '''Basic''' | |
| − | + | {{#lst:How to use EEPROM|overview}}{{#lst:How to use EEPROM|play}} | |
| − | + | {{#lst:How to use EEPROM|paris}} | |
| − | + | '''Know more''' | |
| − | + | {{#lst:How to use EEPROM|know_more}} | |
| − | | | ||
| − | |||
| − | |} | ||
| + | == How to use serial console == | ||
| − | + | Once you connect DV9 cable between IGEP PARIS and Host PC. Open the serial on your PC using your preferred serial communications program (minicom) and configure the port as follows: | |
| + | * 115200 | ||
| + | * 8N1 | ||
| + | * no flow control (either software or hardware) | ||
| − | {{Navigation/IGEP Technology | + | Open the serial port and the debug shell prompt should appear. |
| + | |||
| + | A detailed guide on how to connect via serial debug port can be found by following this link: [[Using serial debug port to communicate]] | ||
| + | {{Template:Navigation/IGEP Technology Guides/What can I do/Ending}} {{Table/IGEP Technology Devices | ||
| + | |Tech_Family={{#lst:Template:Links|IGEP_PARIS_Tech_Family}} | ||
| + | |Tech_ID={{#lst:Template:Links|IGEP_PARIS_Tech_ID}} | ||
|Name={{#lst:Template:Links|IGEP_PARIS_Name}} | |Name={{#lst:Template:Links|IGEP_PARIS_Name}} | ||
| − | | | + | |Image={{#lst:Template:Links|IGEP_PARIS_Image}} |
| − | | | + | |ISEE_MainPage={{#lst:Template:Links|IGEP_PARIS_ISEE_MainPage}} |
| + | |ISEE_Hardware={{#lst:Template:Links|IGEP_PARIS_ISEE_Hardware}} | ||
}} | }} | ||
[[Category:IGEP Technology Devices Guides]] | [[Category:IGEP Technology Devices Guides]] | ||
Revision as of 16:36, 5 September 2012
| |
| |||||||||
Overview
This is the 2/3 chapter of IGEP PARIS Expansion Tutorial Guide.
We will learn some basic tasks.
What can I do
How to use EEPROM
(from How to use EEPROM)
Basic
The IGEP expansion boards (except IGEP New York) provides an AT24C01B serial EEPROM memory which is connected to the OMAP via I2C (register 50).
Use i2c-tools to manage it:
i2cget <bus> <chip> <register>
i2cset <bus> <chip> <register> <value>
The following writes the value 0x22 to register 0x10 of device 0x51 on i2c bus 3:
i2cset -f -y 3 0x51 0x10 0x22
i2cget -f -y 3 0x51 0x10
Know more
See also: i2dump(8), i2cget(8) and i2cset(8) man page
How to use serial console
Once you connect DV9 cable between IGEP PARIS and Host PC. Open the serial on your PC using your preferred serial communications program (minicom) and configure the port as follows:
- 115200
- 8N1
- no flow control (either software or hardware)
Open the serial port and the debug shell prompt should appear.
A detailed guide on how to connect via serial debug port can be found by following this link: Using serial debug port to communicate
You have successfully completed this chapter of the guide.
| |

|
If you have any question, don't ask to ask at the IGEP Community Forum or the IGEP Community Chat | 
|
| |
| |||||||||