


IGEP SMARC iMX6
From IGEP - ISEE Wiki
|
|
Contents
Overview
This is the 1/3 chapter of the Getting Started with SMARC iMX6 Tutorial Guide. In this first chapter, we will learn :
- Connect some peripherals, including monitor and USB peripherals.
- Boot the board.
Upon completion, you will be ready to continue with chapter 2/3 that explains more advanced tasks.
You need build an image to your SD-card. Please see the article on IGEP YOCTO Firmware.
Requirements
In this tutorial we are going to use the following peripherals:
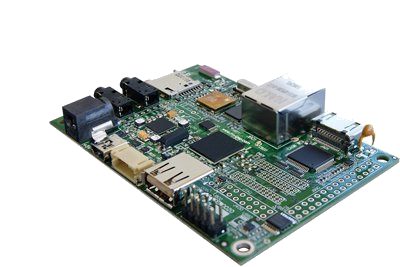
- IGEP SMARC iMX6
- BASEBOARD COMPATIBLE WITH SMARC with its power supply
- SD-card with Yocto Project
- Monitor compatible with HDMI
- HDMI/HDMI cable
- Network cable
- USB keyboard and a mouse
- PC
Getting started
You will learn how to connect some peripherals and power up the board.
Monitor

Network
You may now plug the Ethernet cable into the 10/100 Ethernet jack of the board to get network access.
Keyboard/Mouse
Now, plug your keyboard and mouse into any of the available USB.
SD-card
Finally, plug the SD-card into the SD-card socket.
Booting
With all the peripherals attached, plug in the wall adapter (5V DC) and power on your board. You will see a few lights flash.
You have successfully completed this chapter of the guide.
|

|
If you have any question, don't ask to ask at the IGEP Community Forum or the IGEP Community Chat | 
|