

Getting started with IGEP SMARC EXPANSION
From IGEP - ISEE Wiki
|
|
Overview
This is the 1/3 chapter of the Getting Started with IGEP AQUILA EXPANSION Tutorial Guide. In this first chapter, we will learn :
- Connect some peripherals, including monitor and USBs.
- Boot the board and touring the default firmware.
- Connect remotely to the board via Serial interface.
Upon completion, you will be ready to continue with chapter 2/3 that explains more advanced tasks.
Contents
Requirements
In this tutorial we are going to use the following peripherals:
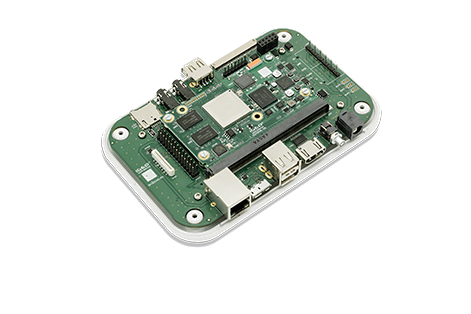
- IGEP SMARC AM335x o iMX moudule with an uSD card
- IGEP SMARC EXPANSION with its power supply
- FTDI cable
- Monitor compatible with HDMI with audio.
- HDMI cable
- Powered USB HUB 2.0
- USB keyboard and a mouse
- Network cable
- PC
Remote connection via Serial interface
Overview
Serial header (J801) lets you debug system with an USB to 3V3 TTL level serial like TTL-232R-3V3 converter from FTDI or compatible reference. The TTL-232R-3V3 converter has 6 pins and IGEP SMARC EXPANSION add a 7th way (3v3 power). The next image shows how to connect it:
 |
Setting up connection
Open the serial on your PC using your preferred serial communications program (minicom) and configure the port as follows:
- 115200
- 8N1
- no flow control (either software or hardware)
Open the serial port and the debug shell prompt should appear.
A detailed guide on how to connect via serial debug port can be found by following this link: Using serial debug port to communicate